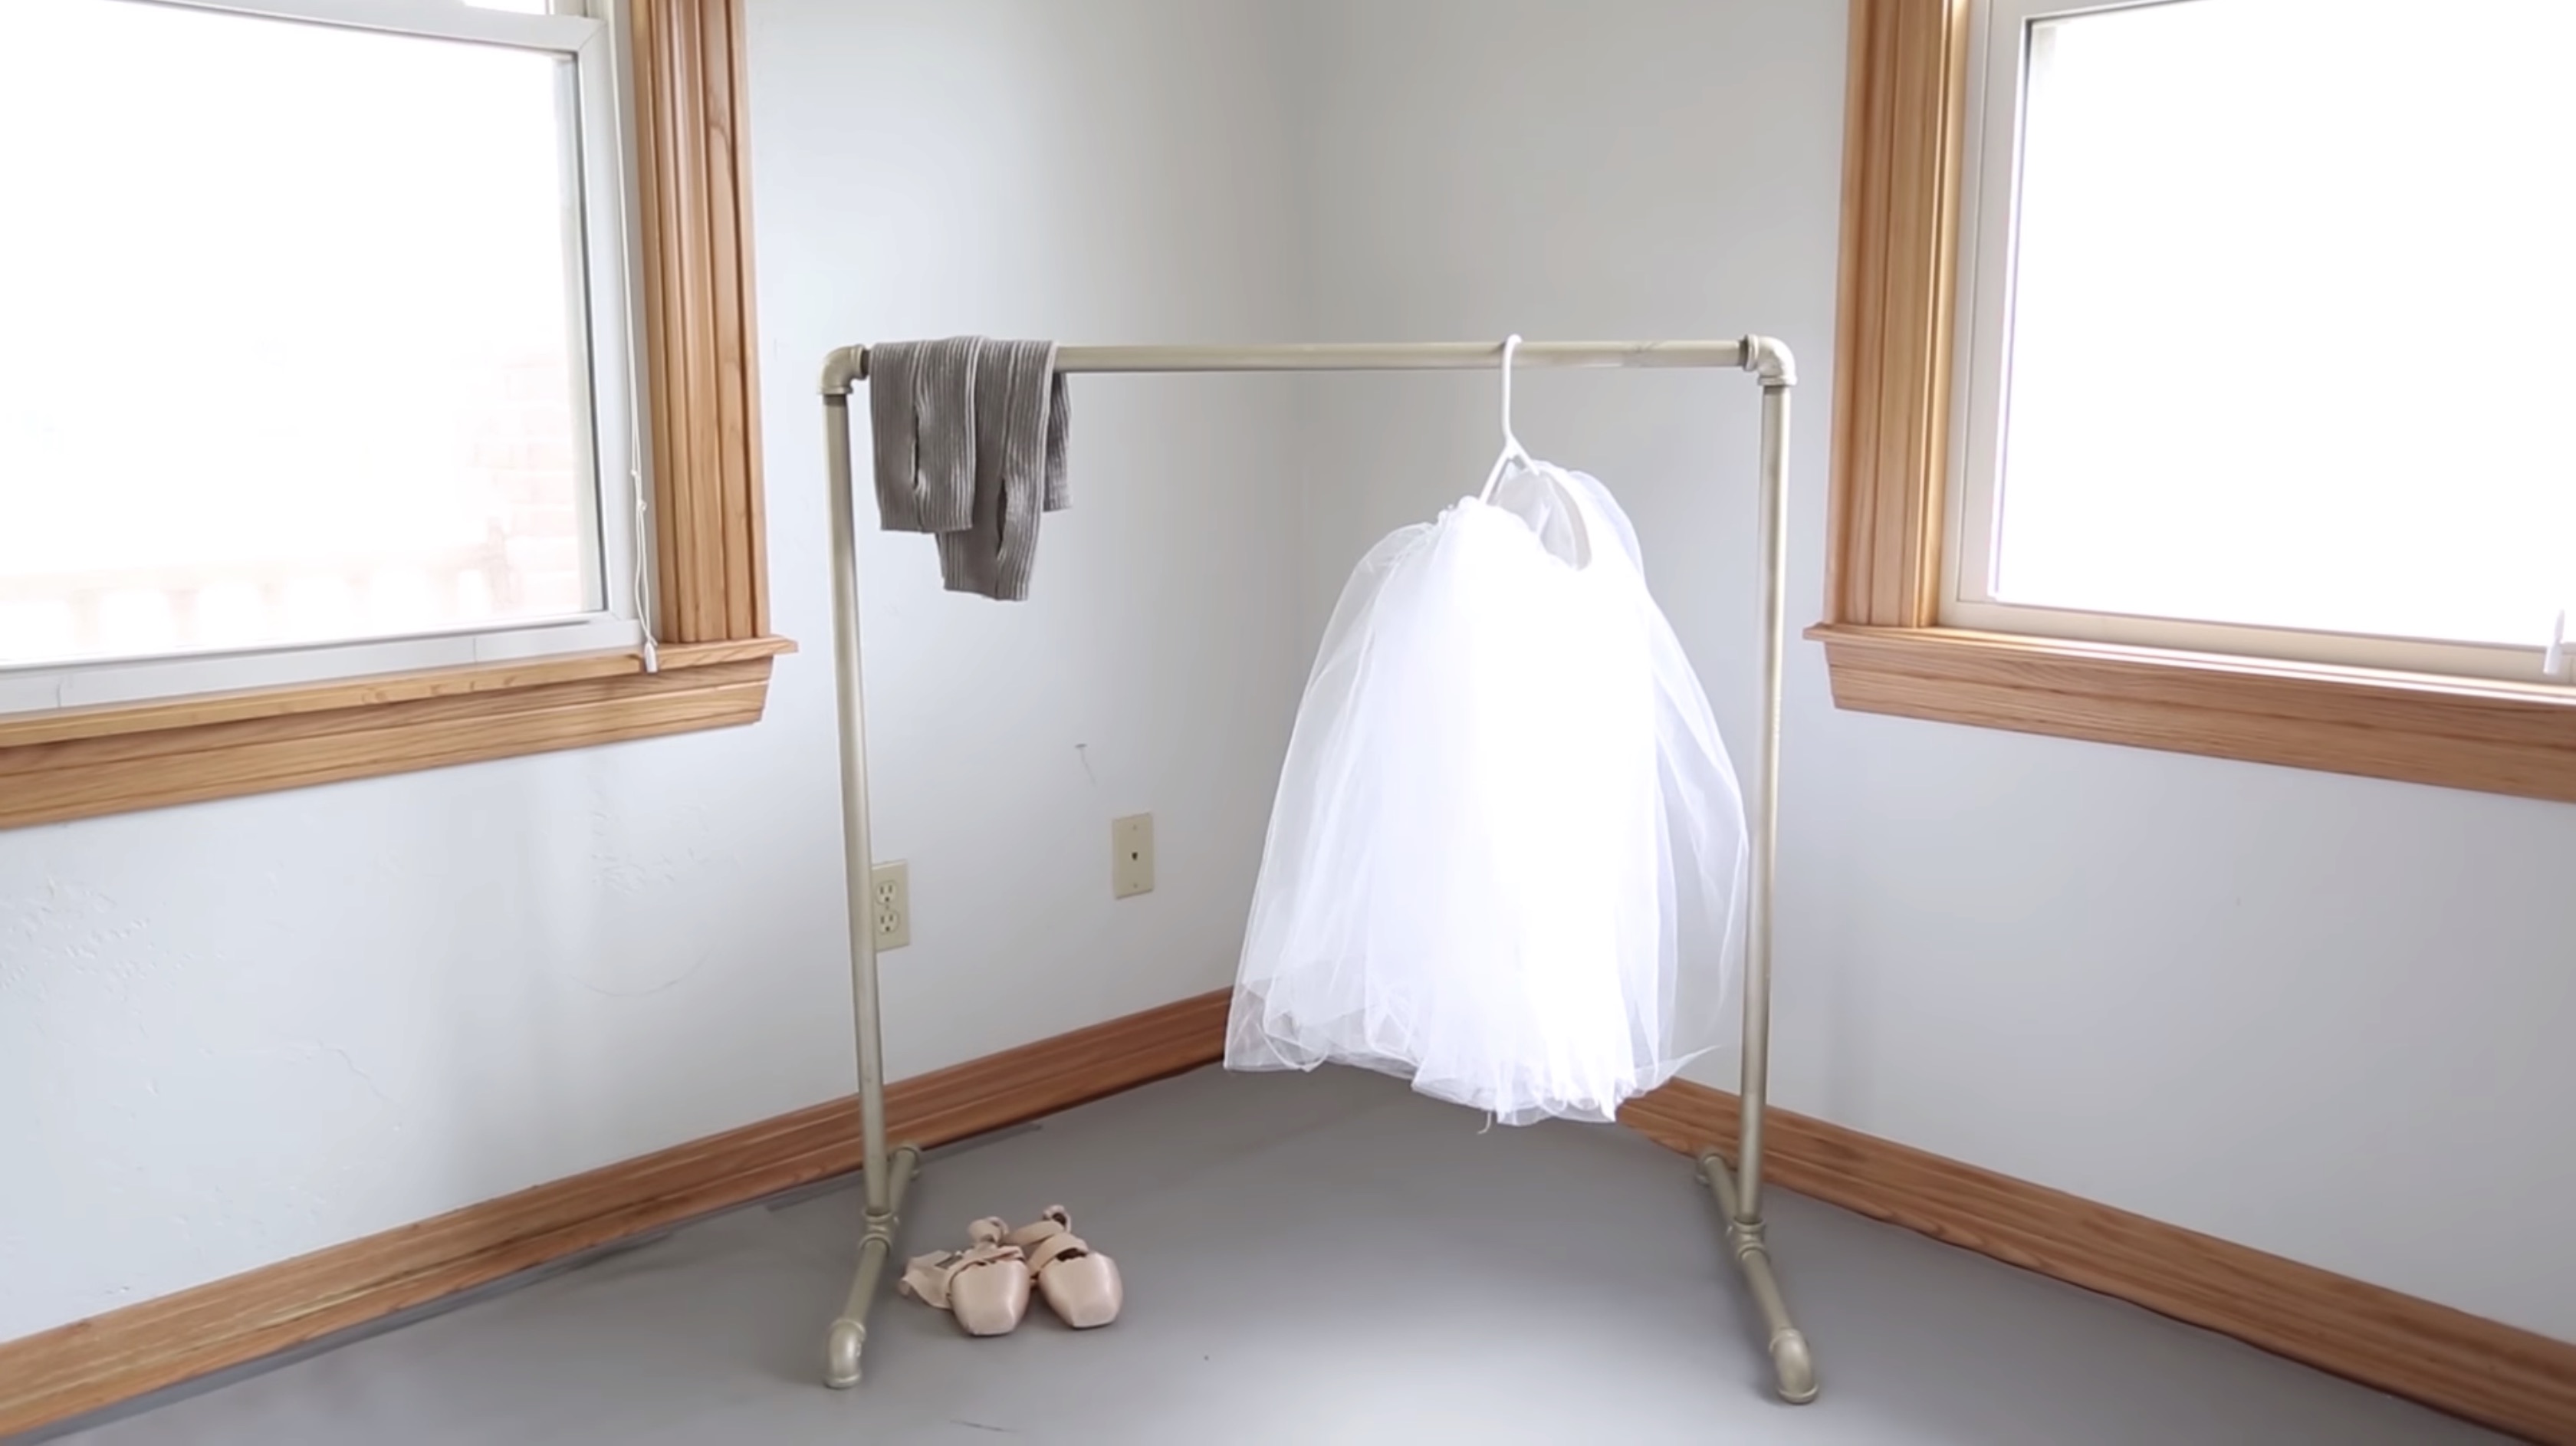
Dancers have for long embraced the idea of dance studios in their home. These spaces make it possible for them to practice at their convenience while they are in the comfort of their homes. As a ballet dancer, you want to perfect your physique such that you can quickly master many a dance move. For you to do this, there is a need for you to engage in numerous exercises, both at home and in school. It is for this reason that a dance studio becomes an essential requirement and the great thing about it is that it can start and end with a ballet barre. Yes, that is right! With this in place, you can enjoy an invigorating dance session without the need for much equipment. Do you want some more good news? Well, instead of parting with cash to get a ready-made ballet barre, you can have some fun doing it yourself. And it will take you a few hours to get it right. For people who are good at DIY projects, an hour should be enough to create a solid ballet barre.
What do you need?
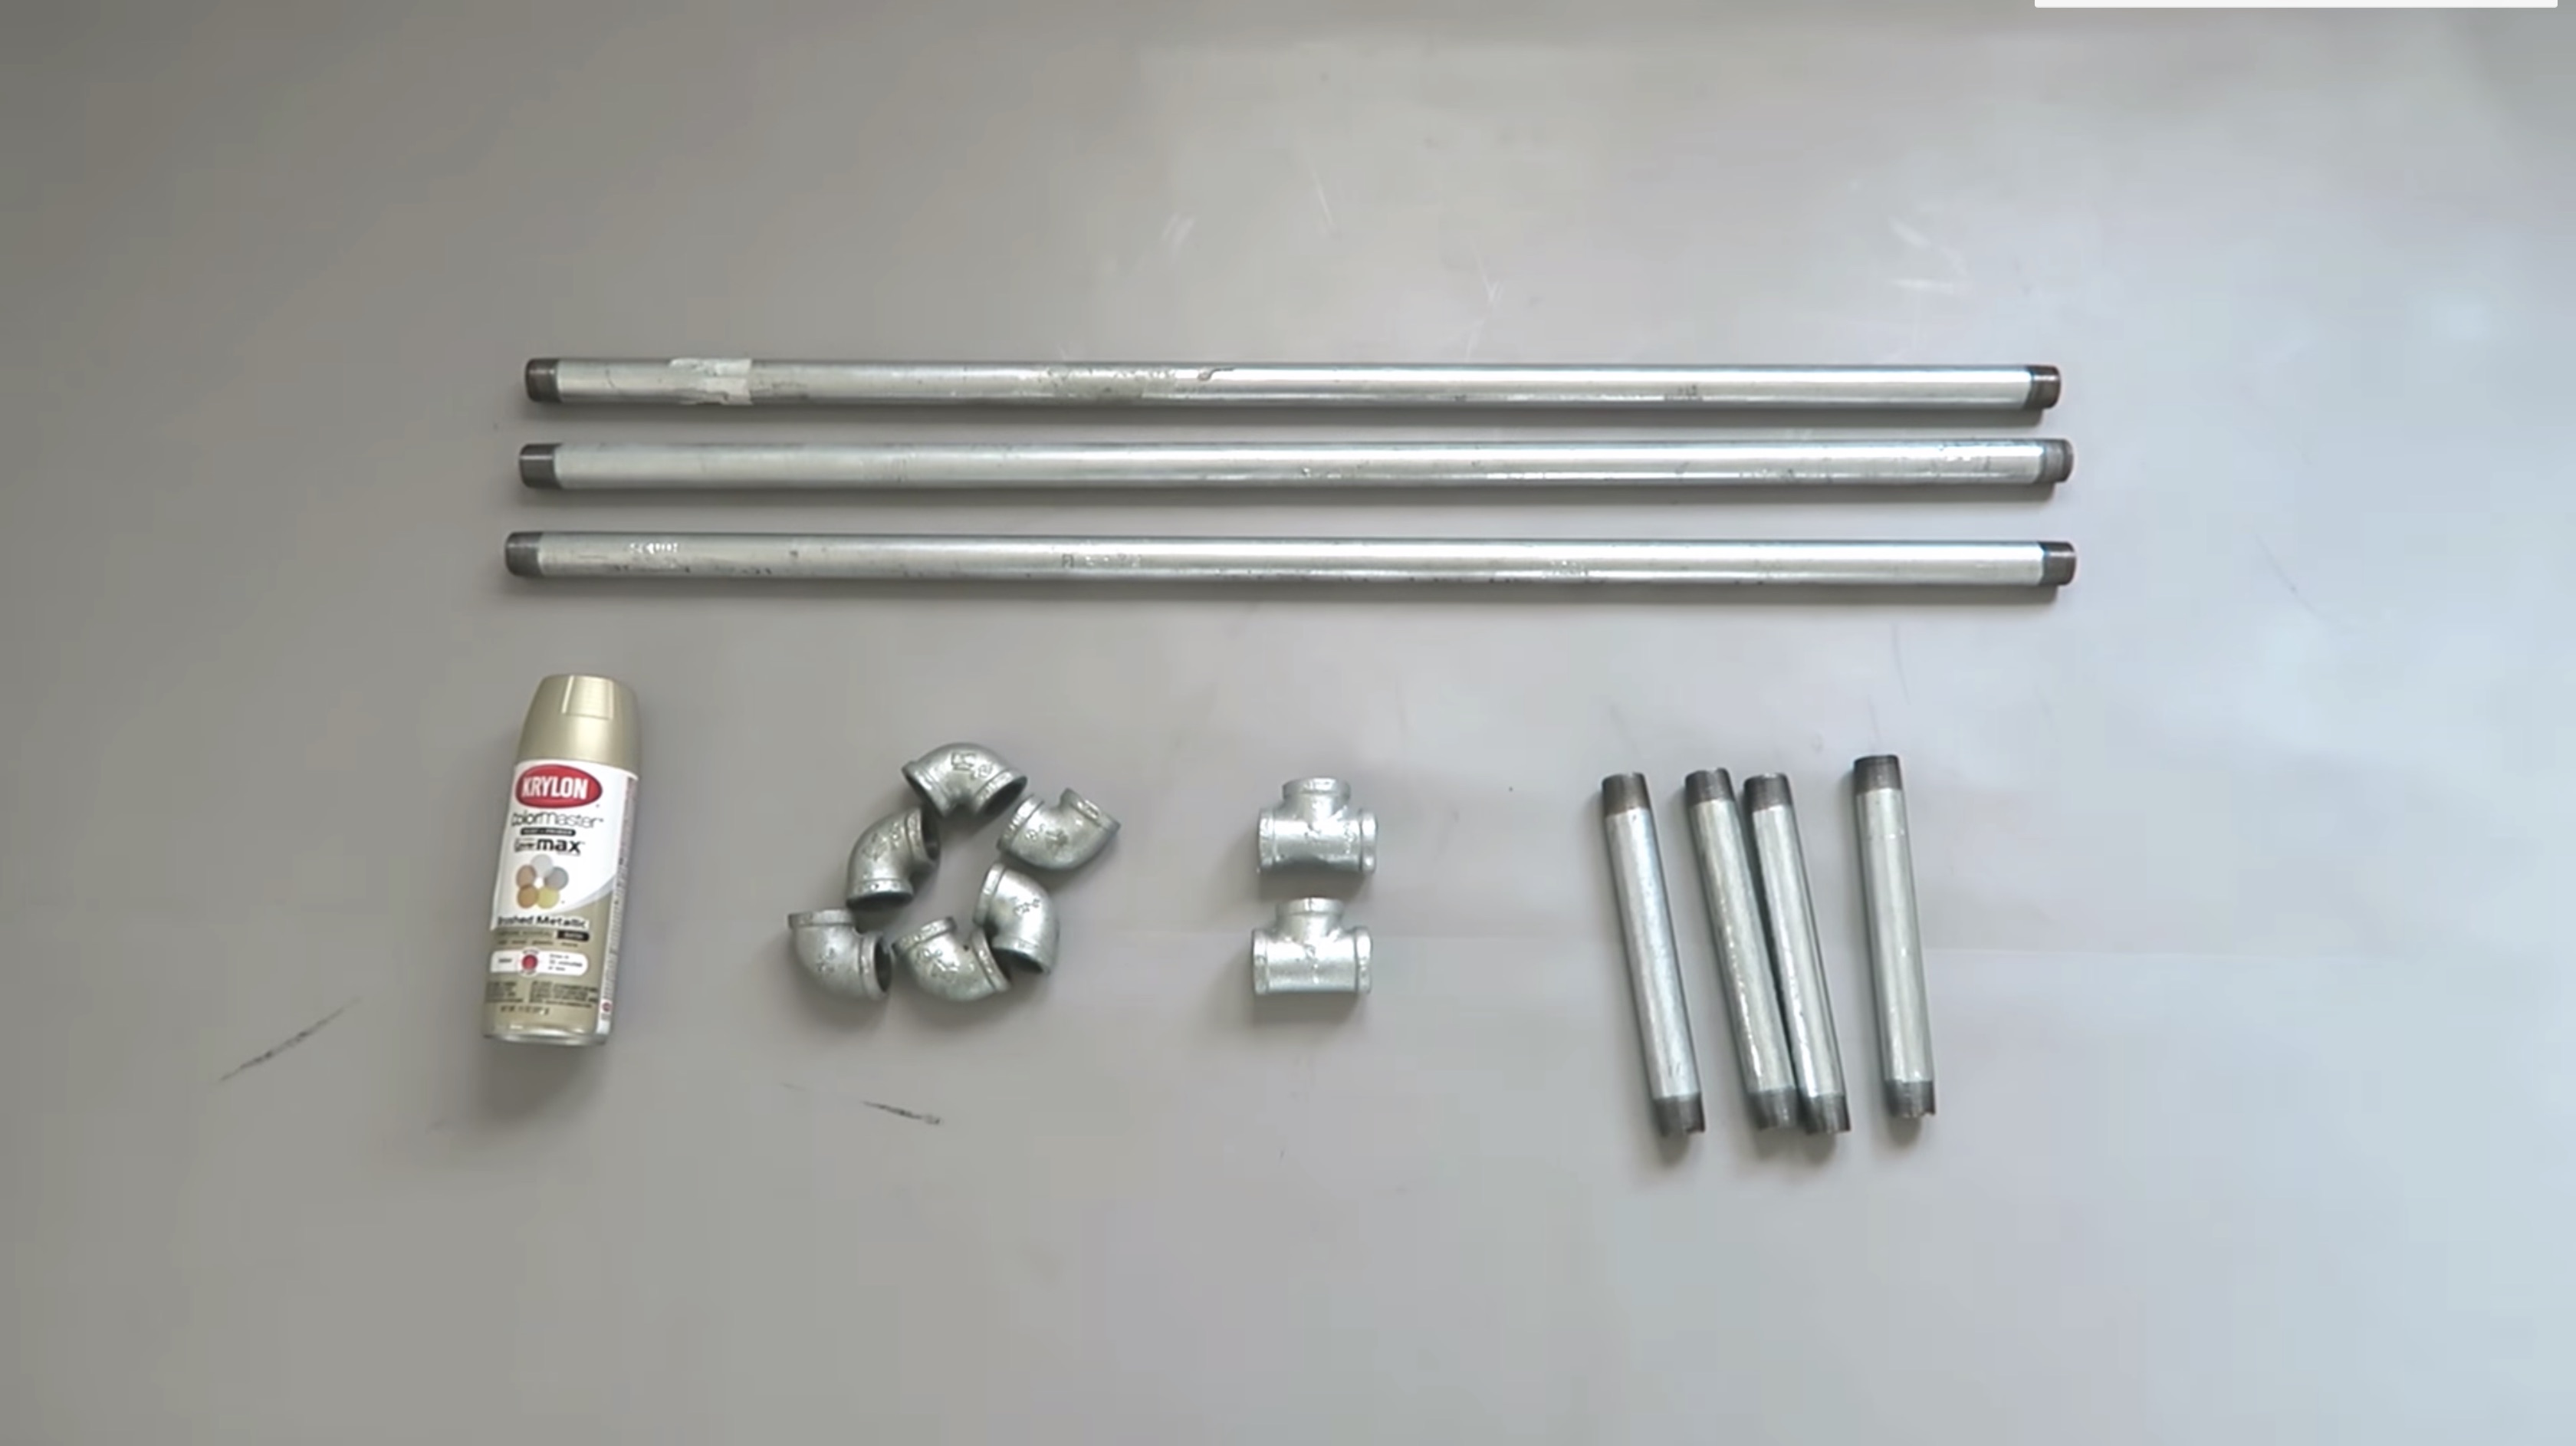
Any DIY project starts with the materials which are essential to the success of the task at hand. In this case, you will need a power drill, sandpaper, a measuring tape, a two-inch wooden dowel, brackets, and a level. Though you may not need them, it helps to have a stud finder and anchor bolts nearby. With these items in play, you can now get started on the construction. You will follow the steps as shown:
Location Selection
The choice of location will depend on many factors, and it will, in turn, get influenced by many things. Say for example that you want to have a ballet barre in a room that boasts of a lot of space, you can have the barre be as long as your space can accommodate. The reverse also holds. In this case, you can see that the amount of room you have will affect how big a ballet barre you build.
Also, you need to ensure that there is adequate space for you to move your leg forward, away from the wall. Suppose you are making the barre for a child whose passion for dancing might see them practicing for years to come, it would be wise to build a barre that can serve them for long. Consider what else would appeal to the dancer, be it you or a loved one. A mirror could help with poise; adequate lighting works to uplift the mood, ventilation helps keep the temperature down, these and more are factors that should come into play.
Once you feel confident that the chosen space will meet your needs, you can move on to the next step.
Measurements
Most people often wonder how long the barre should be, especially when they want to have it at home for dance practice.
The good thing about this question is that there is no right answer and thanks to this freedom, there are few restrictions as to the same. It eventually comes down to how much space you have to spare as well as how many brackets you are willing to use in the construction. The bigger the barre is, the more the brackets that you will use.
A trick that helps in all this is having the barre pre-measured. In this way, you can get a wooden dowel that is the size of the barre when you go to the store. That way, you lessen the amount of work cut out for you in the later stages. Do you want another helpful tip as to the dowel? You may walk into a store only to find that they cannot cut the dowel. It thus helps to call ahead and find out if they can help you out as this saves you money and time you could have spent heading to the store.
Dowel Preparation
It is easy to skip a few steps to get the barre ready in record time, but over a while, you will realize that the shortcuts will cost you dearly. Thus, even when the time is not on your side, do not rush things. You need to prepare the dowel adequately and to do so; you need to start by sanding it such that you get rid of all the free stickers. As you use the ballet barre over time, you could find that you need to sand some areas which you initially missed during the preparation.
You will need to finish the dowel before installation, and you can do this with paint or a stain. Drying the dowel can be tricky, so you need to figure out a way to do so without compromising its stability. You can try nailing the dowel on both ends before hanging it on a chair. While doing so, it is important to be gentle, lest you split the wood.
Also, if you would prefer to use another material in place of the dowel, white PVC piping is an excellent option. Not only is it easy to find in stores, but it is also light in weight, and it cuts easily. Additionally, it is not too heavy on the pocket.
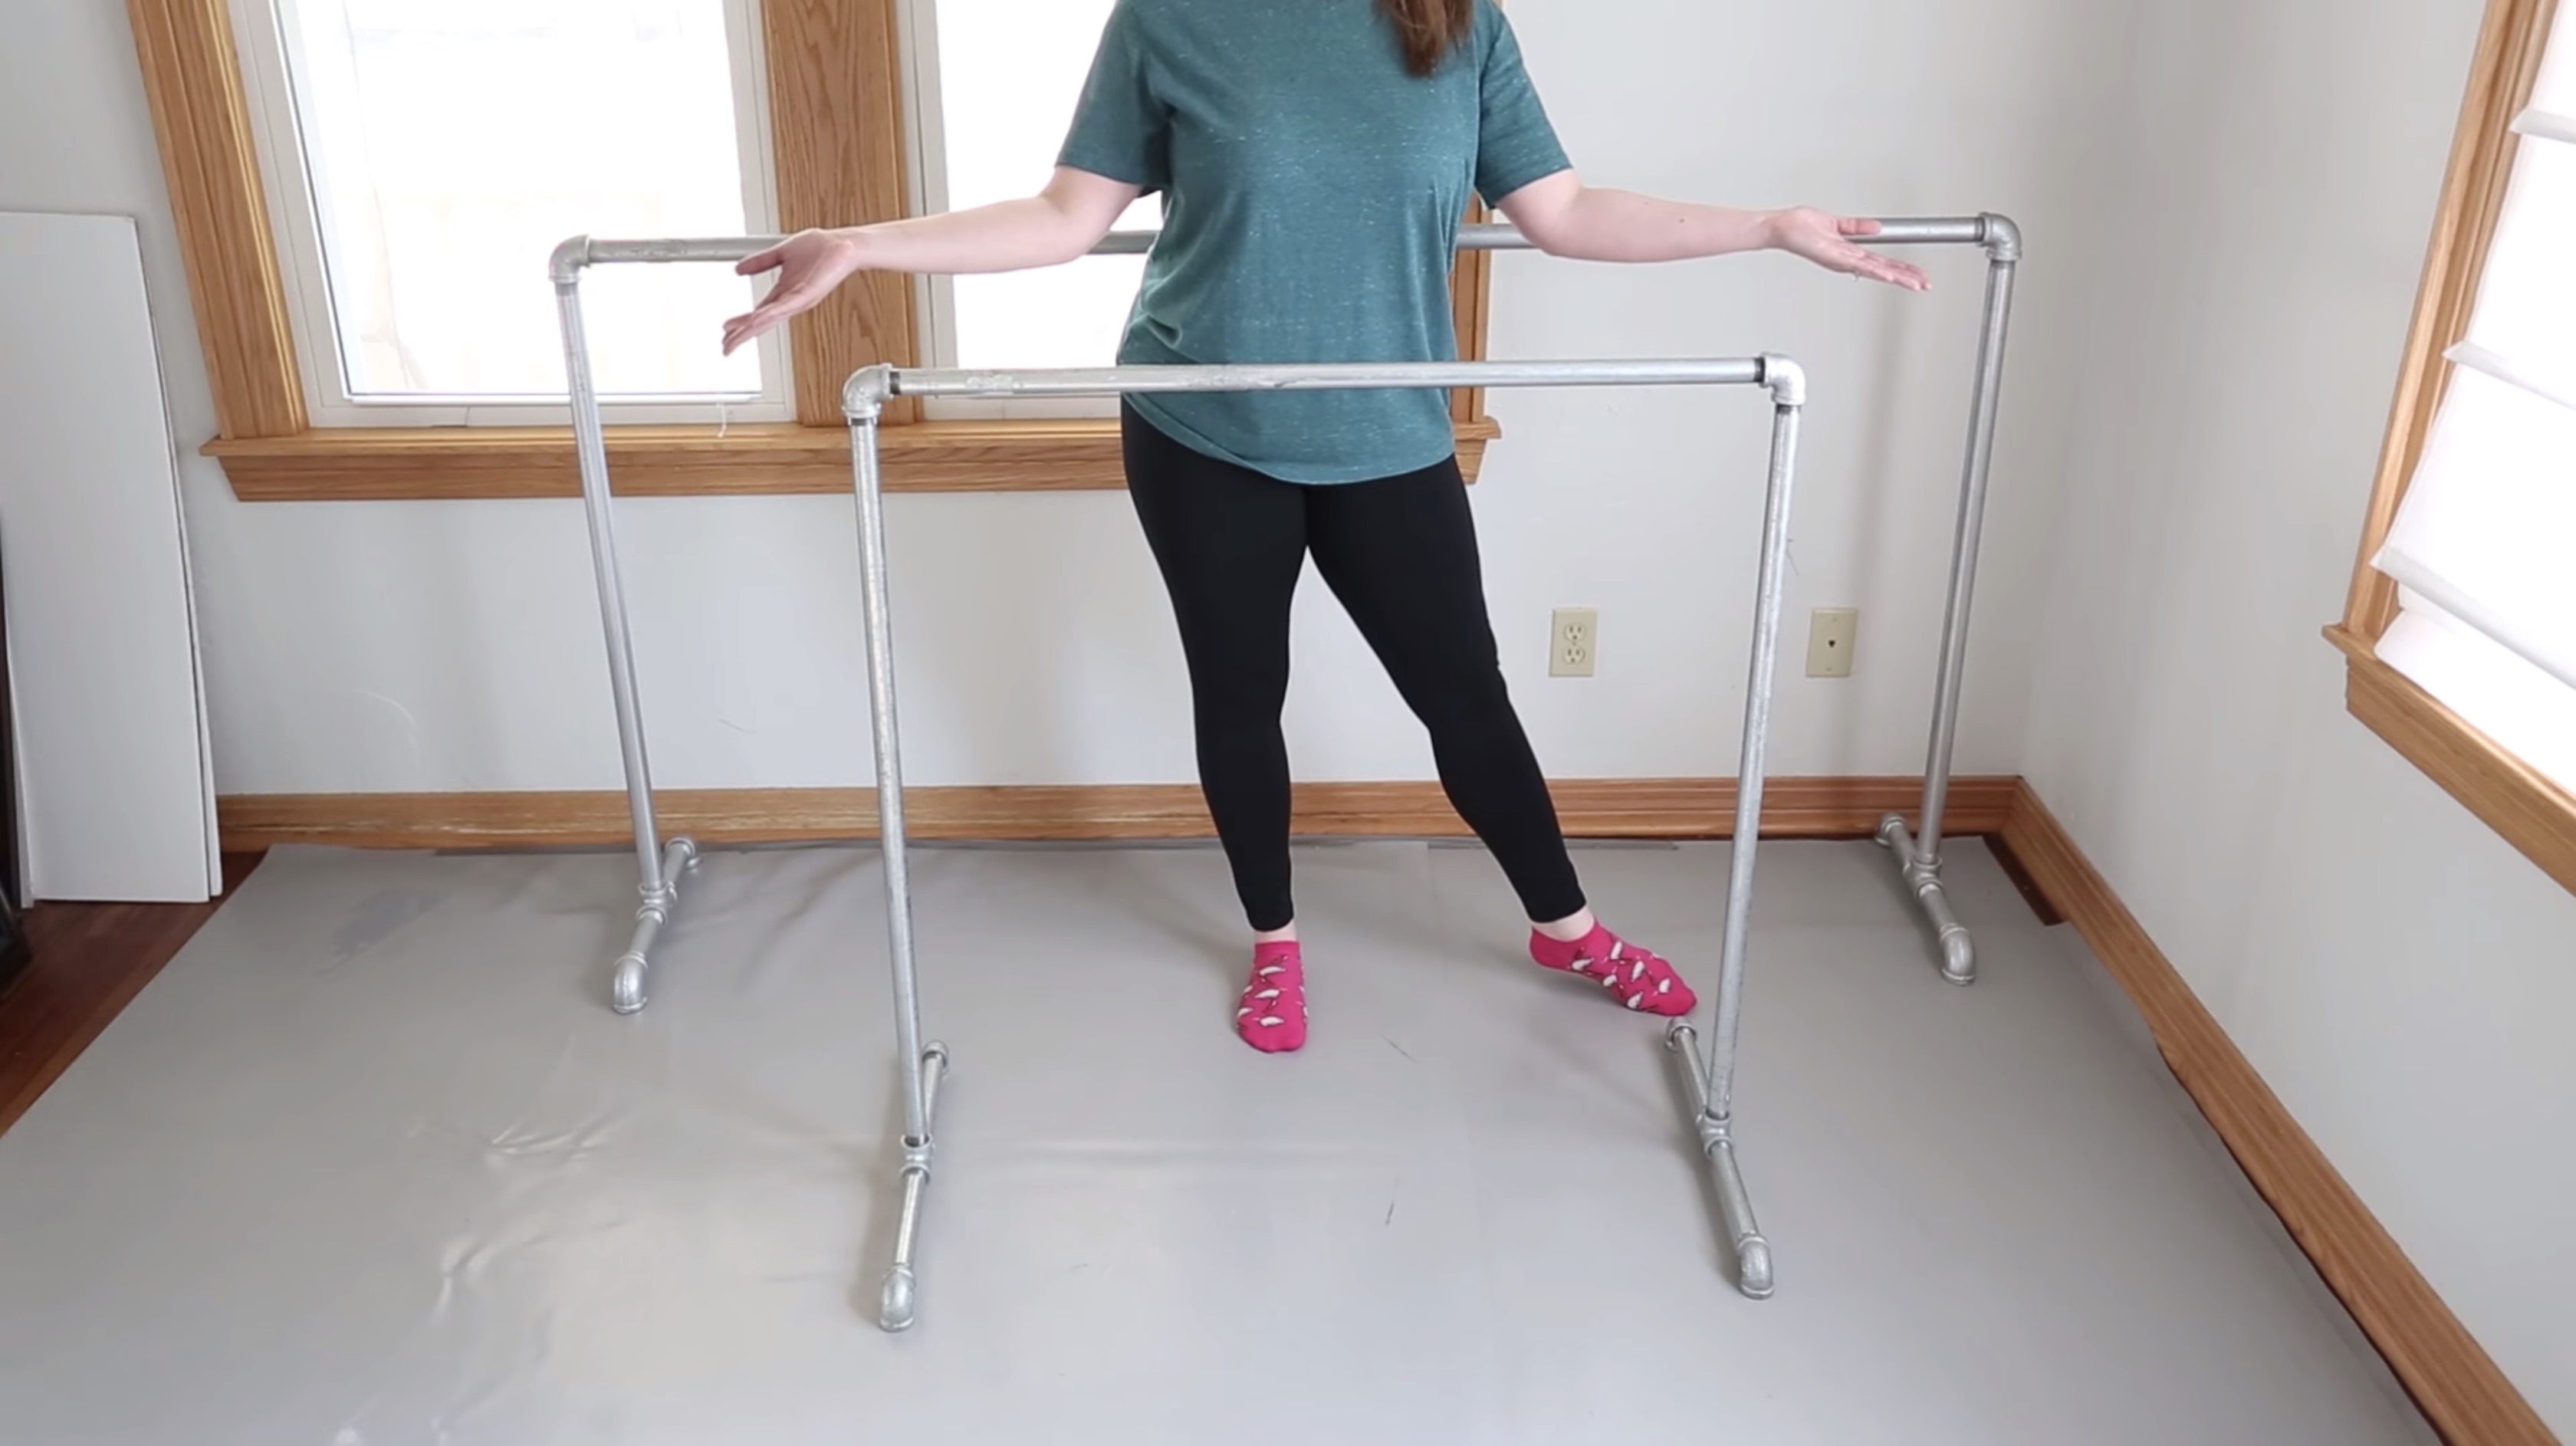
The barre height should be at your waist level though you can alter this based on your preference. Ideally, it should be at the 36-inch mark for an adult and 24 for a child. Once you make these markings, you need to locate the studs in the wall as they will support the brackets which will, in turn, bear the ballet barre. Aim at having a bracket at every four feet of the barre, and you will have the stability that you need.
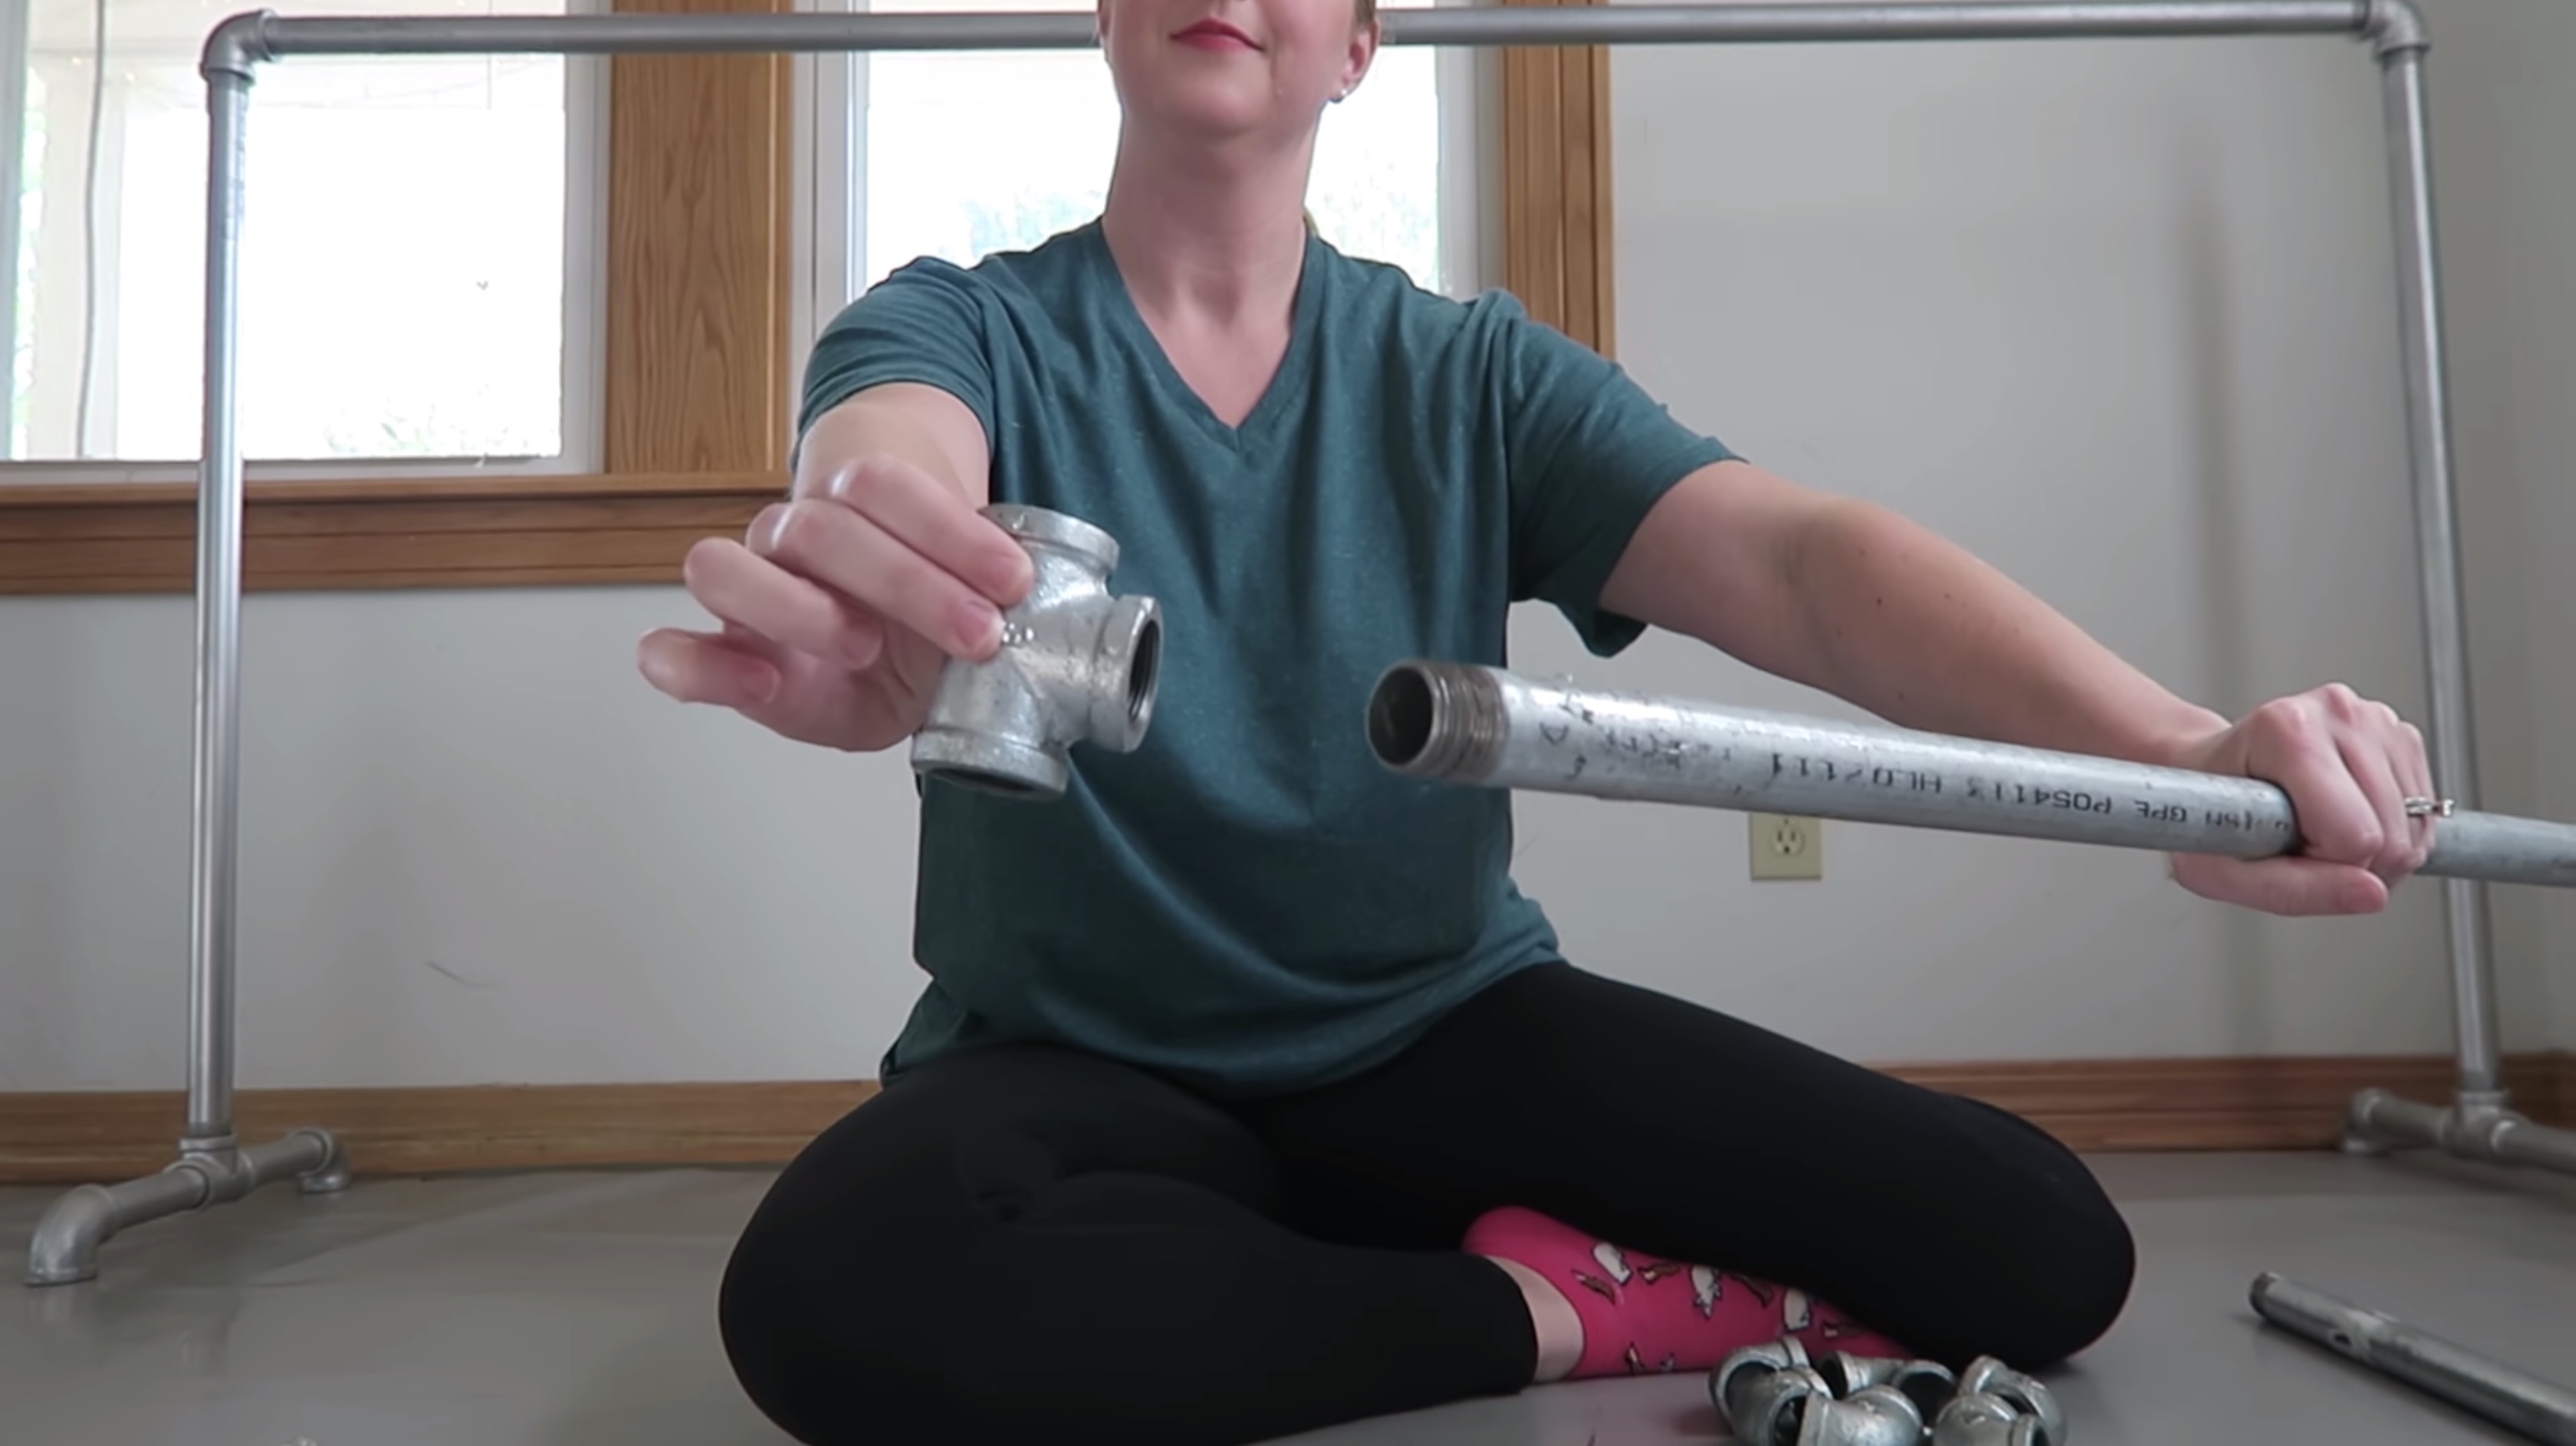
With the studs in place, take hold of the bracket and place it at the markings. Ensure that it is level to the floor using the level before marking screw holes with your pencil. Next, drill into the bracket and the dowel through the stud, ensuring that you do not hit any electrical wiring. Continue this process until you come to a finish. All the best in your construction!
Author’s bio: Born in 1971, in Farmington, MI, Jessica grew up in a warm family environment. Her father is an Electrical Engineer and Inventor, and her mother is a Veterinarian, with two siblings and a very large backyard. Jessica runs her own blog where she writes about different home appliances.
Add The Sports Daily to your Google News Feed!