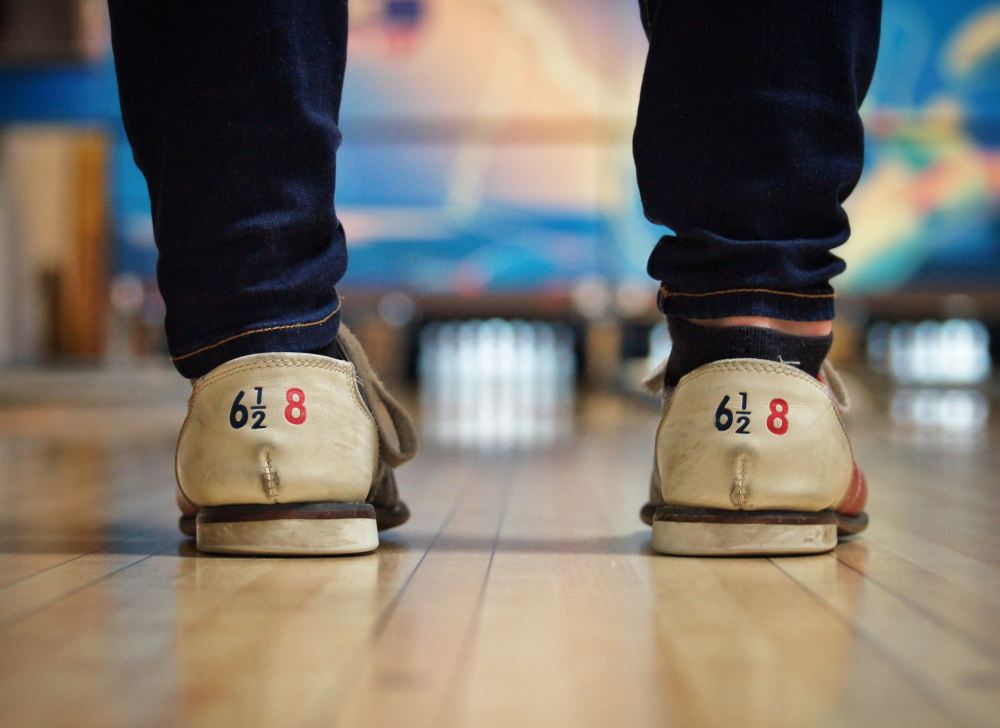
A tip at the beginning: Without special bowling shoes nothing works. Because only bowling shoes have a sliding sole. Without this – with the normal rubber sole of a sneaker – you would fall down with every fast throw by their braking effect says aboutbowlingballs.com.
1. What do I need for bowling?
- Special bowling shoes (see note above)
- A bowling bag for ball and shoes
- A bowling ball with suitable weight, hole depth and hole spacing
- Block and writer for your highscore listings
Bowling ball (not bowling ball) and shoes can be rented at the Bowling Center – the ball is free of charge. It usually takes a long time to find the right ball for you in terms of weight and hole spacing among the many different house balls. The search is made more difficult because the hole spacing of the balls is not printed on the ball. Only the weight in pounds is usually printed large on the balls.
If you buy a ball in the shop, the holes are drilled individually according to your hand measurements. However, basic decisions have to be made beforehand. Do I want a bowling ball with or without spin? Balls with spin already have an intended imbalance and a rougher surface in their core. When thrown off, they first glide straight ahead over the oil film, only to hit a hook on the dry course in the last third. On a completely dry track they are uncontrollable. They can therefore only be used on oiled tracks. Actually, all lanes should be oiled, only if the operator has repeatedly had problems with oiled conveyor belts, it may happen that the operator no longer oils his lanes or oils them too weakly.
Next: Do I want the holes only for the fingertips as a fingertip hole or for half the finger up to the second joint, as is standard for house balls? The short holes are wrongly said to be responsible for many broken finger. However, professional players swear by the more precise control possibilities offered by the greater distance between thumb and finger holes. This leads to a larger contact surface of the ball in the hand. Reactive balls in particular would give away part of their potential without fingertip holes. According to international rules, a maximum of twelve holes may be drilled in a ball by a trained ball borer:
- 5 finger holes
- 1 ventilation hole for each of the five finger holes
- 1 hole for weight compensation
- 1 hole for material compensation
Another fundamental decision is that of the ball material. The inexpensive polyester balls are completely sufficient for beginners. He must first learn to judge the differences between the balls before he buys an expensive individual bowling ball. Even if money is not an issue, one should start with a simple plastic ball without spin. The high price of professional balls results less from the material used than from the development and manufacturing effort.
Professionals also distinguish whether the ball should be used on relatively dry or freshly oiled lanes. Bowling balls for dry to medium dry lanes are polished smooth, but on well oiled lanes they become slightly too fast. So for non-professionals, who absolutely want to spend a lot of money at the beginning, a ball for medium dry lanes would be optimal, because it covers the widest range.
Finally, bowling balls should not be exposed to temperature fluctuations. The core reacts to heat with expansion and to cold with contraction. The cover cannot keep up with these movements. If heated quickly, the ball becomes ovoid and unplayable.
Own bowling shoes are a must for many people for reasons of hygiene. These can be bought quite cheaply online, because apart from the shoe size, in contrast to the bowling ball, no adjustments are necessary. You only have the choice between two sliding soles or an exchangeable sole. The change sole only makes sense if an unkempt run-up is oily. However, this should not happen. Only then would a non-slip sole under the starting foot be helpful.
2. Bowling preparation
2.1 Relaxation of the musculature
The arm and back muscles are particularly stressed in the untrained beginner. With increasing practice, these will be strengthened and thus no longer noticeable. Nevertheless, it makes sense not to go directly from your desk job to the bowling alley. First loosen your neck muscles by repeatedly tensing and releasing the muscles. Make some circular shoulder movements with tensed arm muscles. Then alternately pull your knees as high as possible towards your chin. Finally, shake out your outstretched hands in quick movements. You will notice best yourself whether only a short loosening up is enough or whether longer loosening up exercises are needed.
2.2 Tips for choosing a bowling ball
The weight of the bowling ball – not bowling ball – must be such that you can hold the ball for ten seconds with your arm slightly bent without shaking. Remember your ball weight, if it is printed on the house ball of your bowling centre. For example, the imprint ’14’ means that the bowling ball weighs 14 British pounds.
Then you just put your thumb in the big hole and place the rest of your hand flat on the ball. If the joints of the index and ring fingers are now exactly above the holes, the distance between the holes is correct. If you then reach into the holes of the bowling ball, there must be no hollow space under the underside of the hand – it must lie flat on the ball over the entire surface. We can neglect the hole depth for house balls – there are hardly any differences. However, the hole width of bowling balls is different – the fingers must not have any play in the finger holes, but must be able to slip out easily and must not get stuck.
If you think the price for the beginner plastic balls is high, consider that in professional bowling two balls worth 250 Euros each are used each season – even these wear out. So this indoor sport is not particularly cheap for professionals.

2.3 Tips for determining the place of installation
Stand with your back to the bowling alley at the foul line. Now take four quick steps forward. Now turn around on your heel and remember your position. On the floor there are dot-markings at regular intervals – you can use them as a guide. Always start from the position thus determined.
The right-hander will always aim at the arrows of the right half of the track. Corrections can only be made by moving sideways in the set-up position.
3. Tips for the position, step sequence and throwing the bowling ball (right-handed people)
3.1 Learn to bowl: Set up and start over four steps
Take your bowling ball. Insert your middle and ring fingers into the smaller adjacent holes and then your thumb into the larger finger hole. Stand on your individual set-up point (see point 2.3). For an easier straight ball path (see point 3.2) hold the bowling ball with a slightly bent arm in the horizontal hand (back of the hand downwards) and support the ball with your left hand. Bend the upper body slightly forward at the hips and lower it slightly by slightly bending all joints. This will result in better balance and smoother movement This position of the upper body will be maintained until after the drop – so by no means bend the upper body even more in the fourth step, but instead just go deeper into the knees.
During the whole 4-step approach, make sure that your shoulders are exactly perpendicular to the arrow markings of the bowling alley. Thus your shoulders are at the same time at right angles to the path of the ball up to a possible hook. The centre of gravity of the body is now on the ball of the foot. Start with the right foot. Description of the four steps of the approach:
- In the shorter first step (of four), move the ball forward away from the body
- In the second step, let the ball swing down (almost into the vertical)
- In the third step the ball swings backwards
- Only in the fourth step do you swing the ball forward and at the same time brake the body movement via the gliding foot.
3.2 Learning to bowl: The throw-off
There are different dropping techniques for different ball paths. I’ll name two:
- The straight path. For example, the polyester ball for clearing. Here, the throwing hand is under the ball as if it were resting in the palm of the hand. When the ball is thrown, it is virtually rolled away. Beginners can quickly celebrate success with this method, because a ball thrown in this way is easy to control. However, it only knocks down a few cones.
- The angled ball path: The ball is brought into a rotation that makes it hit a hook at the end of the oil film in the last third of the course. So that the ball itself is not too oily (smooth) for this, rub it occasionally with a dry and clean cloth. You do not even need an expensive reactive ball for the angled ball path (with an intended imbalance in the core). With a little practice each plastic ball can be controlled accordingly.
Here the throwing hand holds the bowling ball like a shopping bag. With the hand hanging down, the back of the hand points to the right, the fingers to the hip and the thumb 45 degrees forward and towards the body. If you practice this hand position with the ball, be careful not to overdo it: Overuse can lead to tendinitis. For this hand position, the holding hand has to be brought from a relaxed position into a tense one in which it carries the bowling ball with its fingers and in which the extension from the arm over the back of the hand is absolutely straight. And because it is so difficult at first to keep the wrist in the straight position during the entire throwing process, there are special strap-on hand rails. This would give you the perfect hand position in relation to your arm, but the corresponding muscles would not atrophy if trained.
Either way, the bowling ball should release from your hand in both throw-offs when it is in front of your right knee. By closing your thumb, it will slide out of its thumbhole more purposefully. At the same time the fingers slip out of the holes/fingertips and completely release in handshake position.
If you tighten your index and middle finger a little when you throw the ball for the angled ball path, then every bowling ball gets a desirable spin, which it needs for a strong hook in the dry last third of the lane. However, let the arm swing out upwards until about 11 o’clock. The hand continues the natural movement even without the ball and ends at the top with a fist (index and middle finger enclose the thumb). Memorize the sequence of movements with the mnemonic: “From shopping bag to fist”.
The left arm should swing slowly to the left already at the second step and point 90 degrees to the left when dropping. The body should still have the same flexion when throwing as at the beginning – only the knees may bend in.
Your left foot should now have come to a stop near the foul line. If you regularly step over this line or come to a stop too far in front of it, simply correct your set-up point accordingly.
If your attempts are always too fast and hasty, simply kneel down a little more during the run-up. That will slow you down. Or count slowly to four and orient your steps to the counting speed. Some professionals also use selected pieces of music for this purpose, which they play on the head radio and according to the rhythm of which they measure the sequence of steps. Music is a good clock generator – if it’s the right piece.
It is impossible to get all these details right in the first months of regular practice. Always concentrate on one or two aspects and leave the rest out. Little by little the different tricks will be internalized. And at some point you’ll have all of them – probably in a throw-off where you didn’t think at all, but just followed your intuition.
4. Tips for optimizing your posture, step sequence and the throwing of the bowling ball (right-handed)
The feet must move forward over the four steps in separate straight lines. Never put one foot in front of the other – you would get into waddling and would not be able to control the ball well Also hips and shoulders should not turn, but rather be moved stubbornly straight ahead. In the fourth step, only the upright body goes down slightly – without any hip rotation. This sounds difficult at first, but can be learned in a short time.
When using non-reactive bowling balls without spin, the straight game can be made more precise if the throw-off position of the ball is only reached when the sliding foot is already standing. To do this, make the last forward swing of the ball (in step four) a little more restrained.
You optimize the precision of the throw if you look at the arrows in the first third of the bowling lane and orientate yourself on them.
-
what are the average scores of bowling players?
- 300 points: Maximum achievable in ten games
- 200+ points: first to second Bundesliga level
- 160 plus points: Good regular player
- 130 plus points: Weak regular player
- less than 100 points: Casual players and beginners
The best players usually have an average score of 210+. However, it does not take that much to play good tournaments. In the Hamburg Individual Championships 2011 the average of the A-men was below 221 pins, the B-men below 199 pins and the ladies below 195 pins. You start with smaller tournaments anyway and play your way up.
6. Bowling terms: What do Turkey & other technical terms mean
6.1 Learn terms around the team and the track:
- Run-up: 4.57 metre long run-up area to the foul line
- Bowling alley: 19.16 meter long, 2/3 oiled playing surface plus pin placement area
- Anchor: Last player in the team
- Backend: unoiled last third of the track before the pins
- Blind: For an absent team player, the term blind can be entered with or without points.
- Bowling-Area: Waiting area for team members who are not playing
- Bridge: Hole spacing in the bowling ball
- Concourse: Outdoor area for spectators
- Core: Inner heavy core of the bowling ball
- Sanding Process: Degree of roughening bsw. by sandpaper of a ball (gresanded as opposed to polished) for use primarily on heavily or freshly oiled bowling lanes. Polished bowling balls glide on.
- Counter: Cash desk, shoe rental and reservation
- Foulline: Marking between the bowling alley and the approach – it must not be touched or crossed
- Lead Off: First player on the team
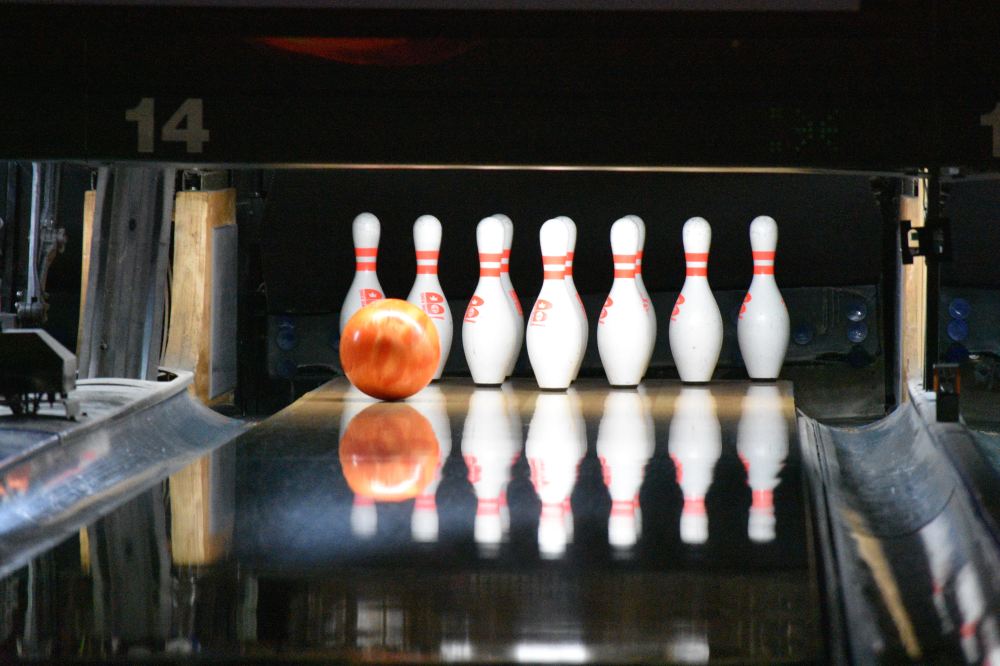
- Pin: A bowling cone made of plastic or wooden core with plastic coating. Weight approx. 1,6 Kg.
- Arrows: Markings of the bowling alley as a visual aid for making a straight throw
6.2 Learn game terms:
- Line : Complete game with 10 frames
- Frame: One of the ten passes of a line (complete game) In each of the ten passes, the player throws one to three times.
- Strike: Clear all pins with the first throw within a frame (display: “X”). In the next frame, the ten pins that have been thrown are added to those of the next two throws. Thus a maximum of 30 points are possible in this frame.
- Strikeball, Hookball, Throw Ball: Usually a high quality reactive ball with spin for the first throw in a frame. The larger its core, the sooner it will start rotating.
- Spareball: Mostly a low-cost non-reactive polyester ball without spin for clearing the remaining cones in a straight line
- Spare: Clear all pins with two throws within a frame (display: “/”). In the next frame, the ten fallen pins are added to those of the next throw. Thus, a maximum of 20 points are possible in this frame.
- Leave: Pins not fallen on the first throw in a frame
- Open Frame: Frame without Strike or Spare
- Fill: Pins of the current throw to be assigned to the previous frame with successful save
- Foul: No scoring due to crossing or touching the foul line
- Miss: No pins hit with the throw
- Double: 2 Strikes in direct sequence
- Turkey: 3 Strikes in direct sequence
- Four Bagger: 4 Strikes in direct sequence
- Five Bagger in a row: 5 Strikes in direct sequence
- Six Pack, Wild Turkey: 6 Strikes in direct sequence
- Split: Gap between pins left apart with fallen headpin (display: “S”)
- Perfect game: Maximum score (300) reached = twelve strikes thrown in all frames
- Handicap: Number of pins that are assigned to a weaker player in the tournament to ensure equal opportunities
- Scratch: score of a game without handicap correction
- Hook: Change of direction of the bowling ball on the bowling alley
- Lofting: Delayed throwing of the bowling ball with emergence behind the foul line
- Lane: Aiming at pin 1 and 2 (left-handed) or 1 and 3 (right-handed) as optimal target
- Arm swing: The swinging back and forth of the throwing arm until the ball is released
7. Short history of bowling
The bowling game is a US-American optimization of the European bowling game from the year 1837. 1926 the conditions for championships had been created in Germany and in 1931 the game started. First individual championships, later also club championships. On the occasion of the world championship held in Berlin in 1937, Germany won its first gold medal. However, it was not until the fifties that the use of pin setting machines and television transmissions increased significantly.
In 1970 the new men’s Bundesliga started with 12 club teams, in 1973 that of the women. Bowling has not been included in the Olympic program until today.
Add The Sports Daily to your Google News Feed!